AC-130E Spectre
by David W. Aungst

Introduction
There are so many successful sub-variants of the C-130, it is
hard to say which one is the most successful.
One sub-variant that definitely has been up there on the
success scale is the AC-130 Spectre ground attack version. This
aircraft has the distinction of carrying the world's largest
airborne gun, a 105mm Howitzer cannon. With all the side firing
weapons on the AC-130, an orbiting Spectre can bring a massive
amount of firepower to bear on a ground target.
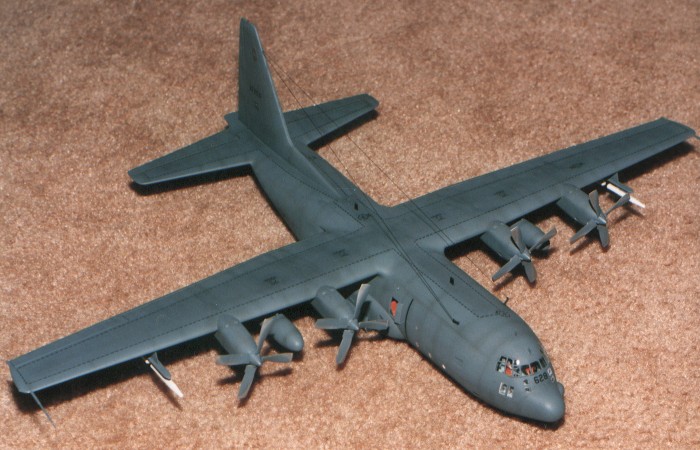
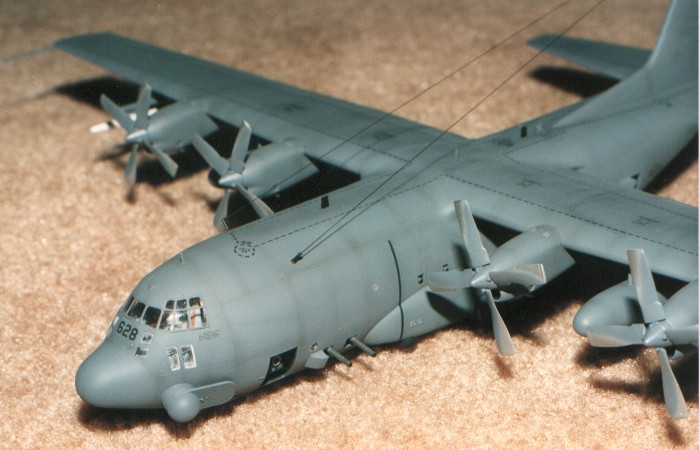
Building the Testor (Italeri) AC-130A as an AC-130E
The Testor (Italeri) model is an AC-130A, complete with the
correct three bladed propellers. While good for the modeler
wanting to build an early version of the Spectre, it did not
help me since I wanted to build a later version. When I built
this model, I was also building a DC-130A. Testor (Italeri)
provides the four bladed propellers in the DC-130A. Since the
DC-130 kit really needed the three bladed propellers, it was a
simple matter to swap the engine nacelles and propellers between
the kits.
The result of the new engines and propellers in the AC-130
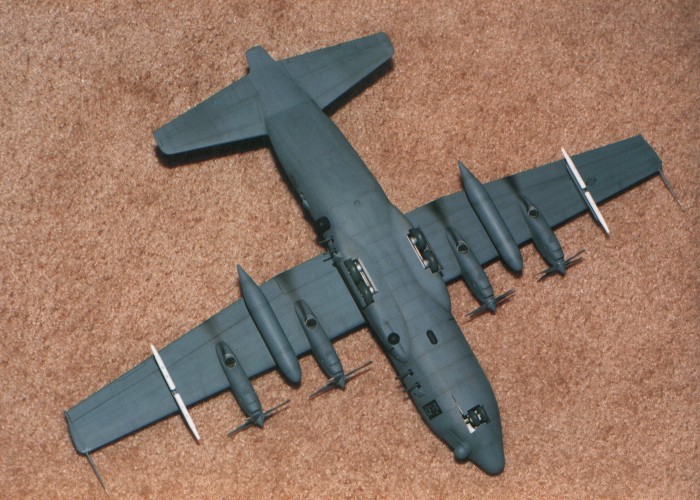
kit was that I now had a kit of an early AC-130E. Very early on,
the AC-130E's all had the 105mm Howitzer installed, but the
Testor (Italeri) kit does not provide this. It was close enough,
having a pair of 40mm Bofors cannons in the rear fuselage. I
otherwise kept it simple and mostly out-of-the-box, doing only
the following things to the stock kit.
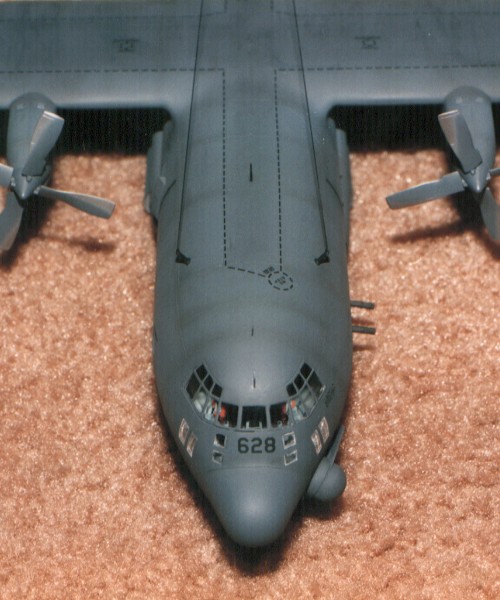
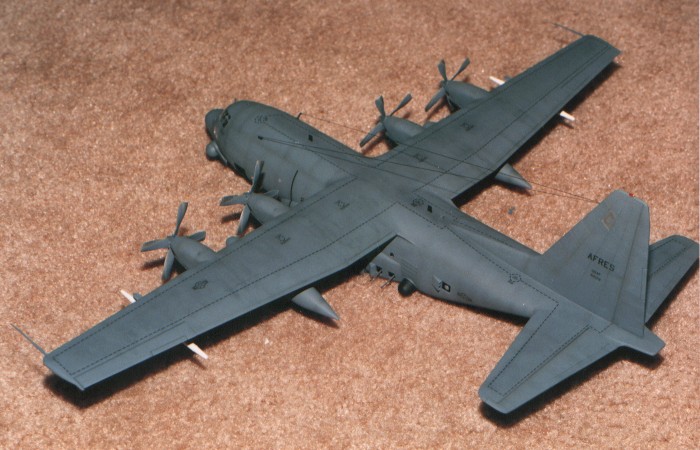
Paint, Markings and Weathering
I used all Model Master enamel paints. The kit provided no
real issues to overcome and the one-color camouflage made
painting the model a quick process.
The markings (the few that existed) are taken from the kit
decal sheet. For the wing-walk markings, I created a mask using
a file card and tape. Then I painted the wing-walk markings as
it was going to take "forever" using decal striping.
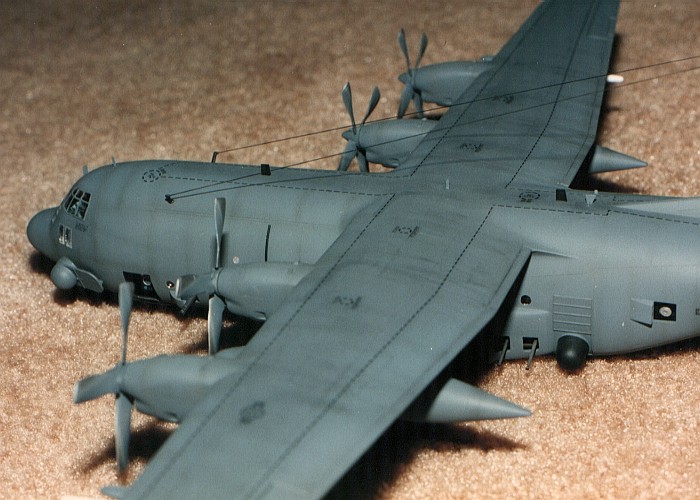
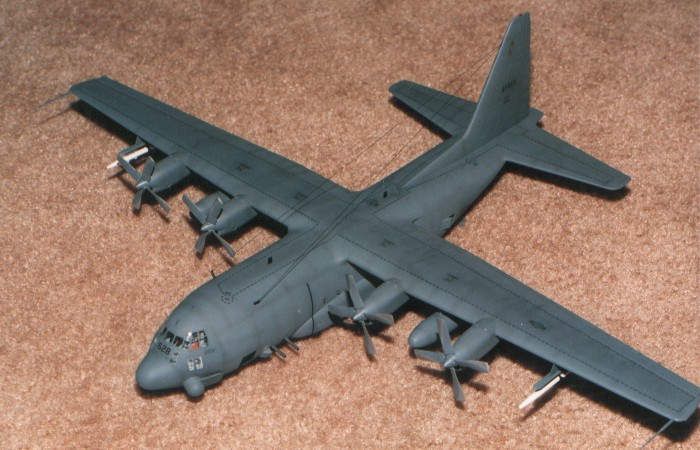
For weathering, I used my typical style of thinned down
enamel paint washes and air brush shading. I finished the
weathering with some dry brushing to pop out the surface
details. For a more complete discussion of what I do to weather
my models, see my posting on
"Weathering Aircraft".