Introduction
This Chieftain Mk 11 marks my re-entry into armor modeling after
a long break from this subject area.
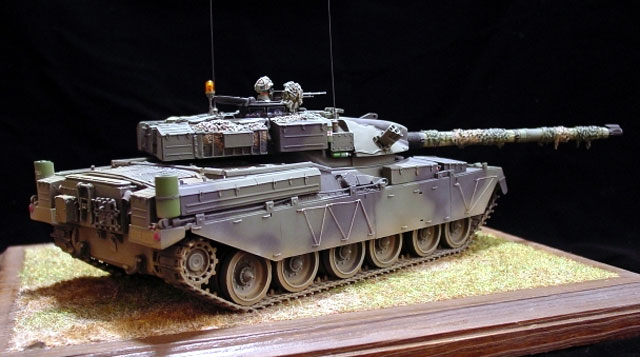
The kit is Tamiya's old 1/35th scale Mk 5, converted to a Mk 11
using Accurate Armor's beautiful conversion set (C 27). The
conversion set includes a new resin upper hull, new resin turret
with "Stillbrew" armor upgrade, bunches of resin bits (including the
TOGS upgrade), and 2 photo-etched brass frets (one fret provides the
skirts & associated hardware).
The only parts used from the original Tamiya kit are the lower
hull, running gear, and tracks. Sadly, no decals or painting scheme
information are provided with the conversion kit.

Construction
The resin castings are quite nice but some air bubbles are
present. Additionally, the turret casting in my conversion kit
suffered from a massive air bubble at the rear of the turret that
required filling and a bit of rebuilding to make things right. No
big deal though, sometimes things like that happen to resin kits in
the production process. It is all part of the building experience.

Once general assembly was completed and pin holes filled, the
model was primed and readied for painting.

Painting, Markings and Weathering
I need to add a disclaimer here. I had very little reference on
the Chieftain so it was pretty much a "best guess" for the colors
and camouflage pattern on my model. I apologize to our friends in
the UK if I've botched this up!
The Testor Aztek airbrush was used for all the spray painting. I
used Humbrol Bronze Green for the base color and Testor's
ModelMaster II enamels for everything else.

The painting process was pretty standard for armor - pre-shading,
then base coat and camouflage colors, a little dry brushing (using
oil paints), and finally some pastels to finishing things off. I
didn't "wash" the model but did apply thinned colors to select areas
with a brush.
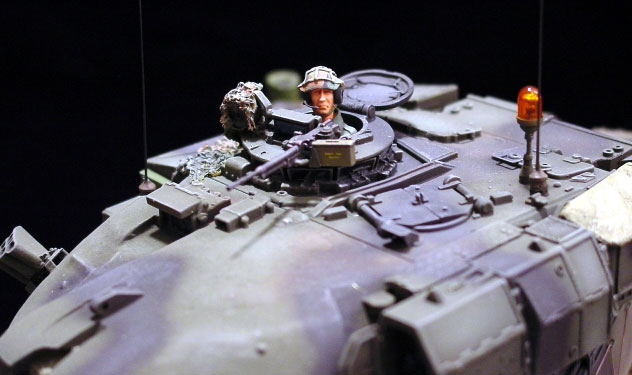
To liven the vehcile up a bit I added a single figure (Cromwell)
which was painted with ModelMaster II enamels, then tried my best to
create sections of camouflage nets wrapped around the gun tube (and
TC's search light) using Tamiya 2 part epoxy putty. The completed
model is now displayed on a simple base.

Conclusion
Overall this conversion was a fun project that took a little over
a month to complete. I wish I had some good reference on the subject
matter and could have used proper vehicle and unit markings to do it
up correctly.
I am still pretty happy with the result.