Introduction
This is Special Hobby’s recently released 1/48th scale F2A-3
Buffalo.
This kit is identical to the Classic Airframes F2A-1 Buffalo,
sharing all sprues, PE and resin except with the Special Hobby
version, you get the longer fuselage of the –3 and, of course,
different decals.

Construction
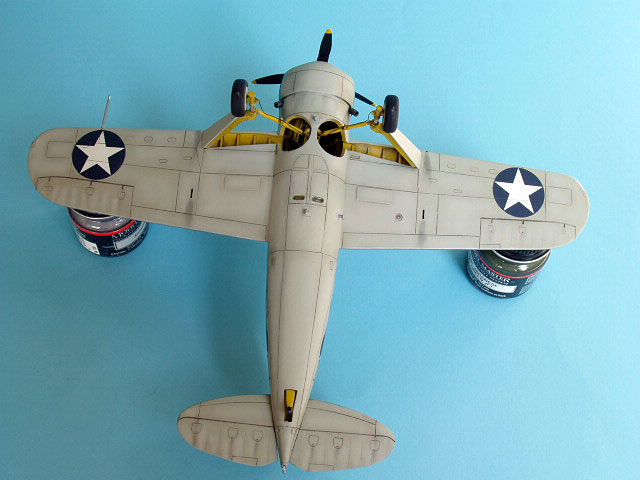
The Buffalo goes together very well for a limited run kit, with
only one “GOTCHA” to watch out for. The instructions have you build
up the main wheel wells, the engine and most of the cockpit on top
of the assembled wings, then you put each fuselage half on top of
the wings and around the wheel well/engine assemblies and then you
glue the fuselage halves together and to the wings. A different sort
of procedure, but the only way I could see to do the more
conventional thing of gluing the fuselage halves first and then
attaching it to the wings was to leave off the engine assembly.
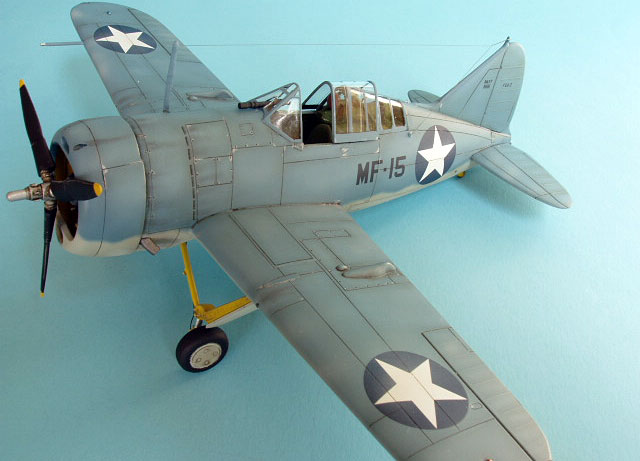
Things were going very smoothly up to this point, so I stuck with
the kit instructions, and things seemed ok…until I put the cowling
on the front of the fuselage. The engine sat so far back, the
propeller shaft just barely stuck out past the cowling… DOH!!! The
solution was simple; detach the engine mount from the bulkhead and
pull the engine forward. Sure, if you look way up in the wheel well,
you may notice that there’s a gap between the engine mount and the
bulkhead, but that’s a whole lot better than having the prop pressed
up against the cowling, right? So, what caused the problem? Well, my
best guess is, since this kit is the Classic Airframes –1 Buffalo
with the longer –3 fuselage, the engine mount must not have been
lengthened to match the longer fuselage. Following that little
hiccup, the rest of construction went smoothly.
Painting and Markings
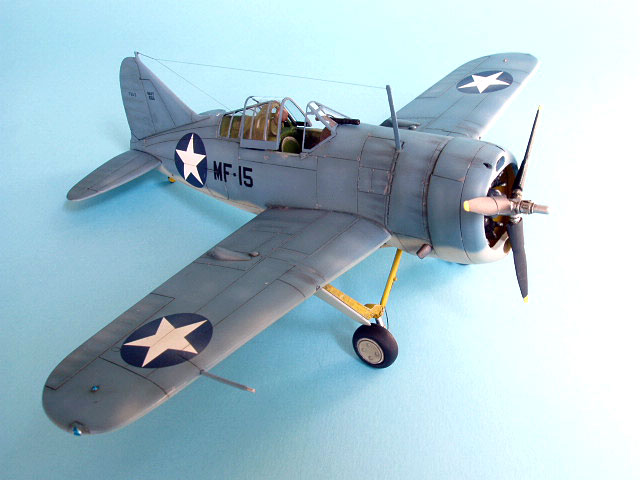
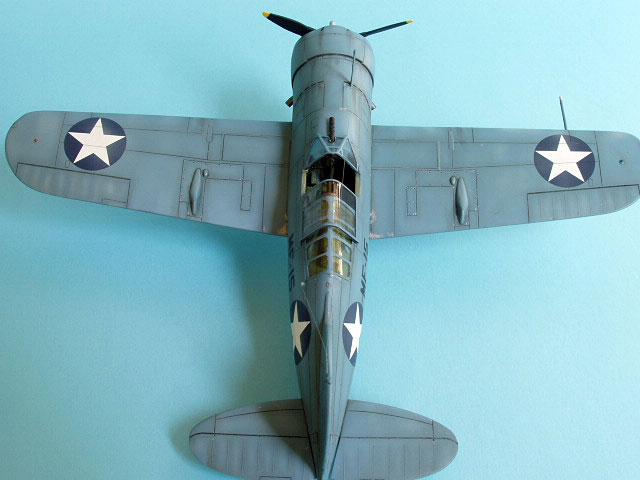
Markings I chose are for one of the infamous Midway Buffalos and
I can’t imagine doing one of those aircraft without weathering it.
So, here's what I did:
First I preshaded the bottom with brown and the top with black.
Then I sprayed the bottom with Model Master 36440 Light Gull Gray
followed by a a lighter shade of gray sprayed in random areas
underneath. Next, I sprayed the top with Model Master 35189
Blue-Gray. I followed that with a random pattern of the Blue-Gray
lightened 5% sprayed on the sides and some of the upper surfaces.
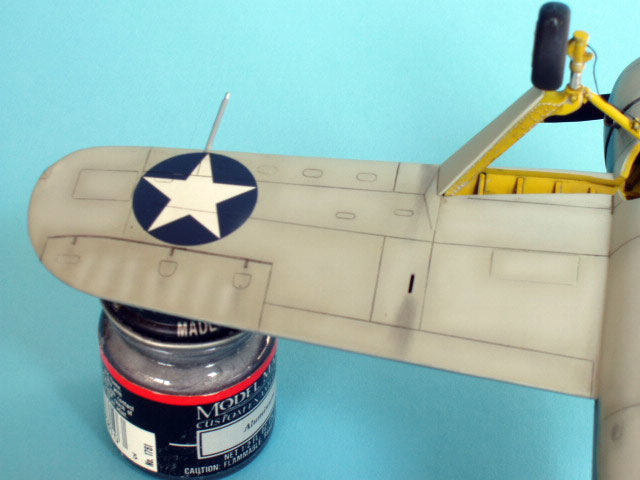
Next came another random spraying on the upper surfaces of
Blue-Gray lightened by 10%. Next was gloss; decals (which are
excellent, by the way); gloss; an oil wash of black/burnt umber; a
very light, thin misting of Light Gull Gray on random upper surface
areas; some chipping with a silver pencil; and finally, different
shades of gray pastel chalk brushed across appropriate areas.