Description
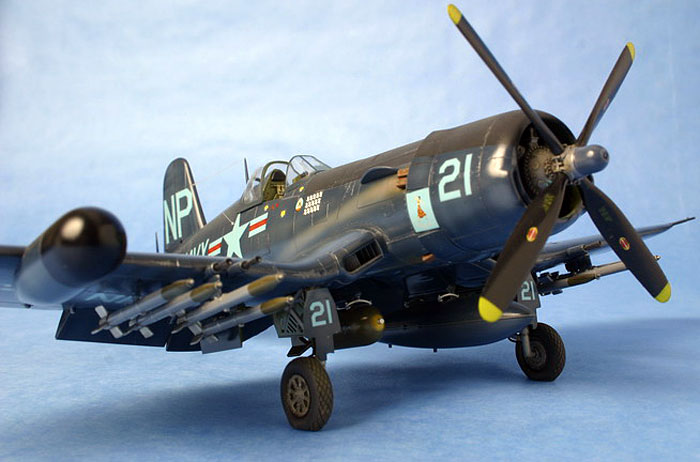
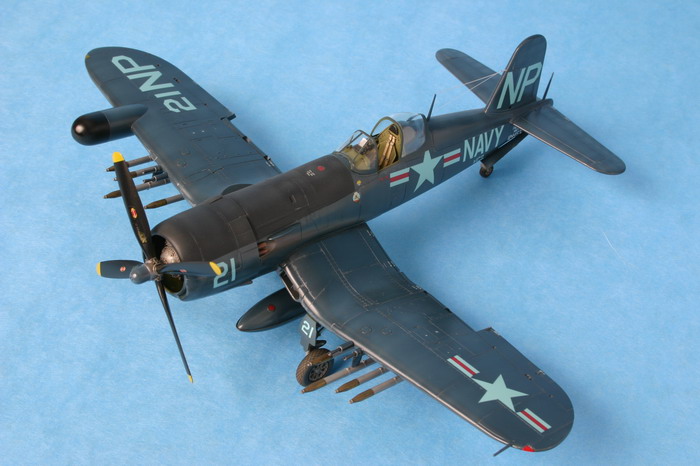
Here is my 1/48 Hasegawa F4U-5N Corsair built straight out of
the box with the exception of the cockpit.
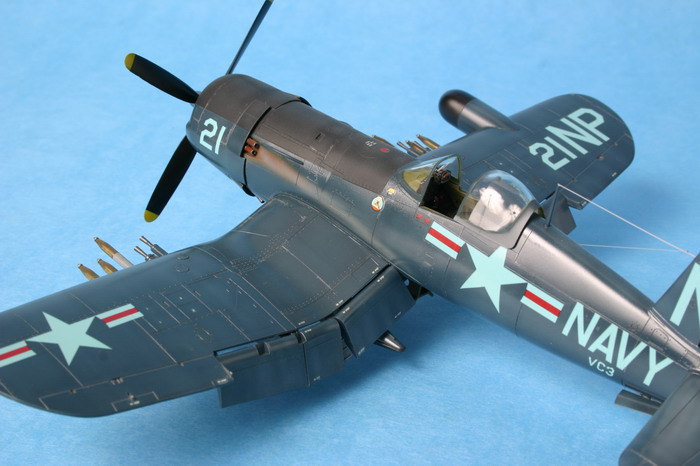
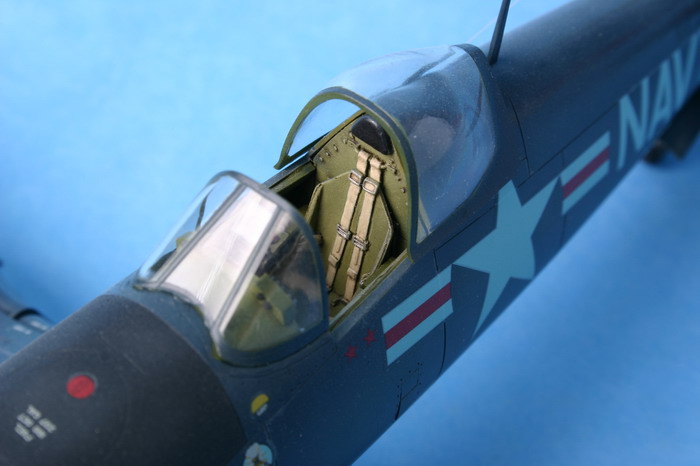
As supplied, the
cockpit is not bad but falls short due to the absence of side wall
detail and the switches located above the instrument panel. You can
scratch build the sidewalls and switches which are fairly simple
affairs or purchase the True Details replacement cockpit. I chose to
use the True details cockpit but kept the kit instrument panel since
it had crisper detail. The True Details cockpit also provides a
better seat and a beautifully cast K14 gun sight.
The kit goes together fairly well with only minimal need for putty
and filing.
One area of concern is the cowl which has a nasty seam (which looks
like a panel line) that needs to be eliminated. There is also no
framing detail inside the rear wheel well, but after the
installation of the rear wheel and arrestor hook very little of the
inside can be seen so I chose not to scratch build the framing.
The main gear doors also have some very inconveniently placed
sinkholes that were rather difficult to clean up.
I replaced the
kit wheels with a set from True Details since the kit wheels looked
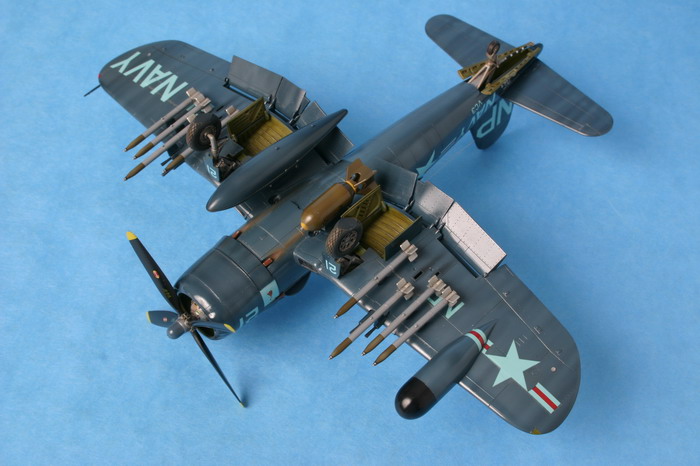
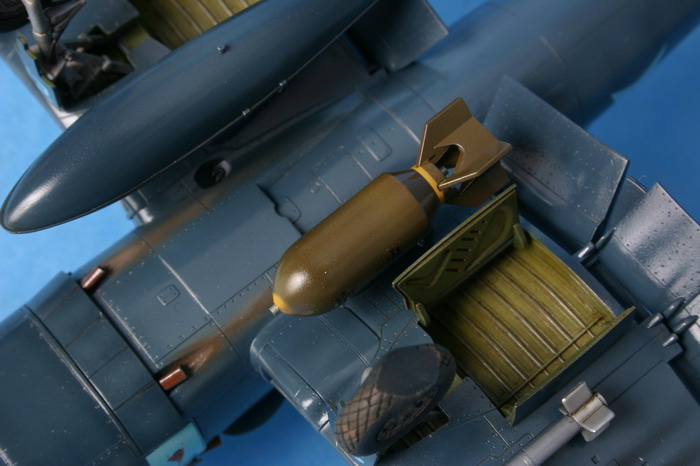
a bit narrow. The kit comes with a good selection of bombs, rockets,
and belly tanks, though the rocket fins are a little bit on the
thick side and could be replaced with thinner plastic card items.
One major shortcoming is the front canopy which has a very bad fit
and I would recommend a Squadron Vac canopy replacement.
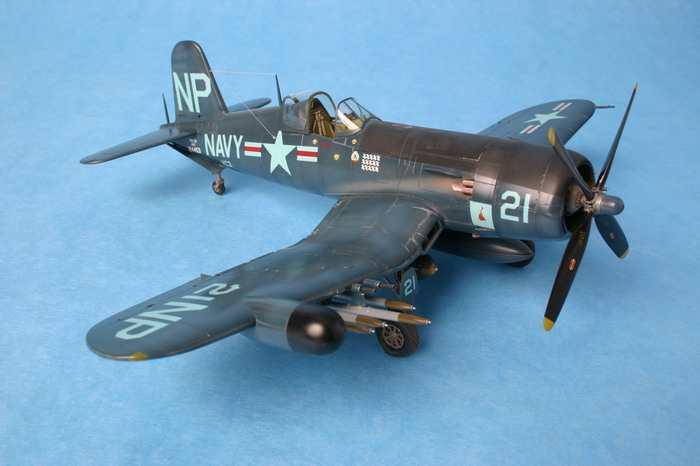
I chose the standard Gloss Sea blue paint scheme of VC-3 Det. D, Lt.
Guy P. Bordelion Korea July 1953. An interesting point is that the
instructions called for the radar dome to be painted black but
general references I had showed it painted white. I chose to paint
the dome black since it may have been specific to Lt. Guy P.
Bordelion aircraft. I weathered the aircraft only moderately and
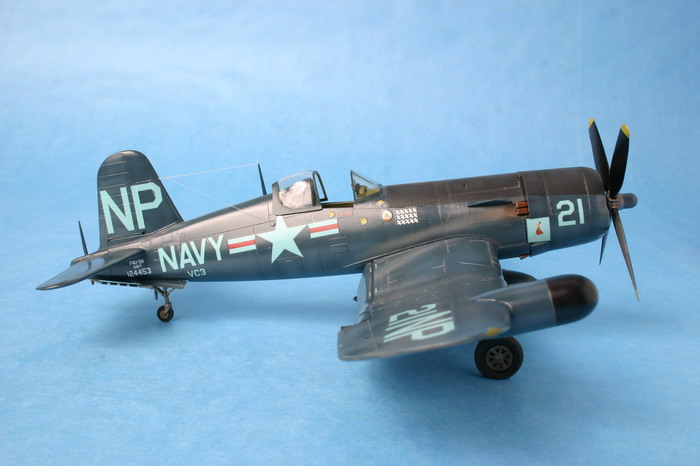
used a silver pencil to add paint chipping. The entire aircraft with
the exception of the anti-glare panel was given a coat of Future and
then the decals were applied. These settled down quite nicely which
was a bit of a surprise since I always have trouble with Hasegawa
decals. I then applied a final gloss coat to the entire model with
Testor's Dullcote being applied to only the anti glare panel.
Aside from the minor short comings of the cockpit and cowl this is
an excellent offering from Hasegawa. With an overall excellent fit
and good decals I would strongly recommend it.
Given that I'll just have to build the all black night interceptor!